
It has been quite some time since I've used my pasta attachment to my mixer. Probably because making homemade pasta takes a bit of time and when you have small children it isn't easily to find that extra bit of time. So I had actually decided to just reheat leftovers for dinner last night and was enjoying a few minutes of down time watching Secrets of a Restaurant Chef on Food Network. LOVE that show, by the way. Anne Burell was making homemade ravioli and I just got the itch. As she was throwing ingredients into her pasta dough on TV I was in the kitchen doing the same. Granted I don't see Ann Burell doing this with a 1 year old and a 4 year old in the kitchen wanting to be a part of every step. Once I finished the dough I had to run to the grocery store to buy stuff for the filling since I hadn't anticipated making anything I had not one single ingredient I needed on hand. By the time my husband woke up (he sleeps during the day sometimes because he works nights) I was in the kitchen with my 1 year old on my hip trying to put the dough through the pasta machine and make my ravioli. The pasta turned out amazing. It was really pretty simple to throw together, especially the finishing sauce. I think now that my kids are out of the tiny baby phase I might be able to start making homemade pasta a bit more often! This freezes really well too, so I made about half that night and froze the other half for another time.
 |
| My flour well. |
Homemade Pasta:
4 c. all-purpose flour
4 whole eggs + 1 egg yolk
1/4 c. extra virgin olive oil
2 tbsp. water
1 1/2 tsp. salt
So the first thing you need to do is dump your flour onto your work surface and create a huge well in the center. Then you can add all your ingredients into the center of that well. If your well is too small you'll just end up with a bigger mess so you really want to make it BIG. The picture to the right is of what your well with all your ingredients in should look like. Use a fork (or your fingers) and pop your yolks and slowly start to incorporate the flour into the egg mixture in the middle. You can use a circular motion going around the edges of the flour until you have a rough dough. Then get your hands in there. Start kneading the dough together to get all bits and pieces incorporated. If the dough is too dry you can add a tbsp. more or two of water. At this point you'll start kneading the dough. This is a long process with pasta. You start out thinking wow this will never come together it looks all wrong but you have to give it time. Knead your dough for about 10-15 full minutes. It should be smooth and silky at this point. Put your whole body weight into. You now need to let your dough rest for about 1 hour. This is the perfect time to start getting your ravioli filling together.
 |
| Dough after 10 minutes of kneading. |
Ravioli Filing:
2 c. whole milk ricotta
3/4 c. Parmesan cheese, fresh grated
2 eggs
Salt, to taste
1 1/2 c. cooked spinach
I actually don't usually have fresh spinach available at my store so I have no choice but to make do with frozen. I just dumped a bag of frozen spinach into boiling (salted) water for 1-2 minutes then pulled it out and allowed it to cool. Make sure to squeeze out all excess water. Then toss it into the food processor and turn it on for about 30-45 seconds to allow it to chop almost puree the spinach. Add the ricotta, spinach and Parmesan cheese to a bowl. I like to add the salt and taste it before adding in the egg because you don't want a bland filling. Now whisk in your eggs. Pour the entire filling into a large ziplock bag that you can use as a disposable pastry bag. Cut the corner off so you can easily squeeze the filling out onto the pasta sheets when the time comes.
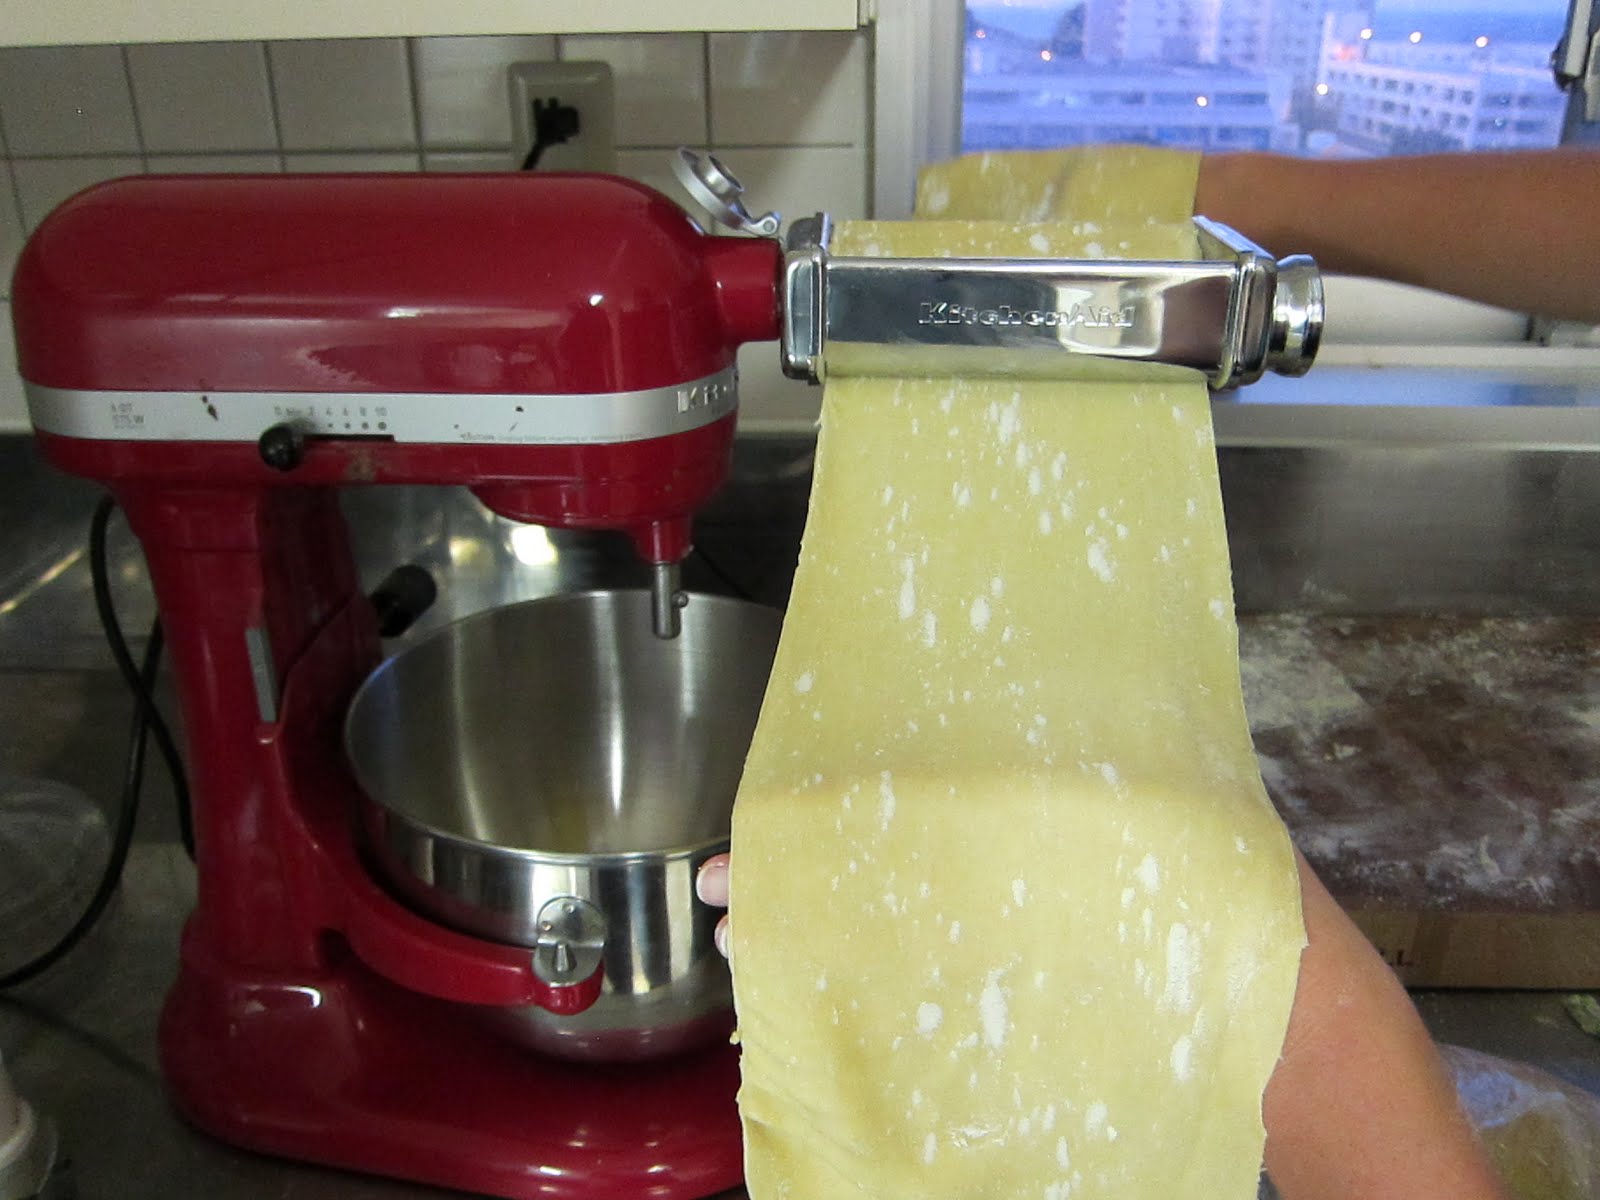
 |
| Rollin' out the pasta. |
 |
| Adding in the filling. |
Now back to your pasta. It is time to roll out the dough. I cut my pasta into 4 separate pieces. Make sure the ones you aren't working with stay covered. Cut off about 1/4 of the dough and flour it and flatten it a bit. Attach your pasta roller to your mixer or get out your hand roller. start feeding the dough in nice and slowly with it on setting 1. The first 2 times fold it in half and roll it back through on setting 1. After the third time, adjust your setting to 2. Each time go up to the next smaller setting until you get to setting 6. You can stop at 6. You might want to run it through an extra time on any one of the settings but you don't have to, that is up to you. Make sure to flour your pasta if it seems sticky, you don't want it to stick or it'll start ripping or sticking to itself.
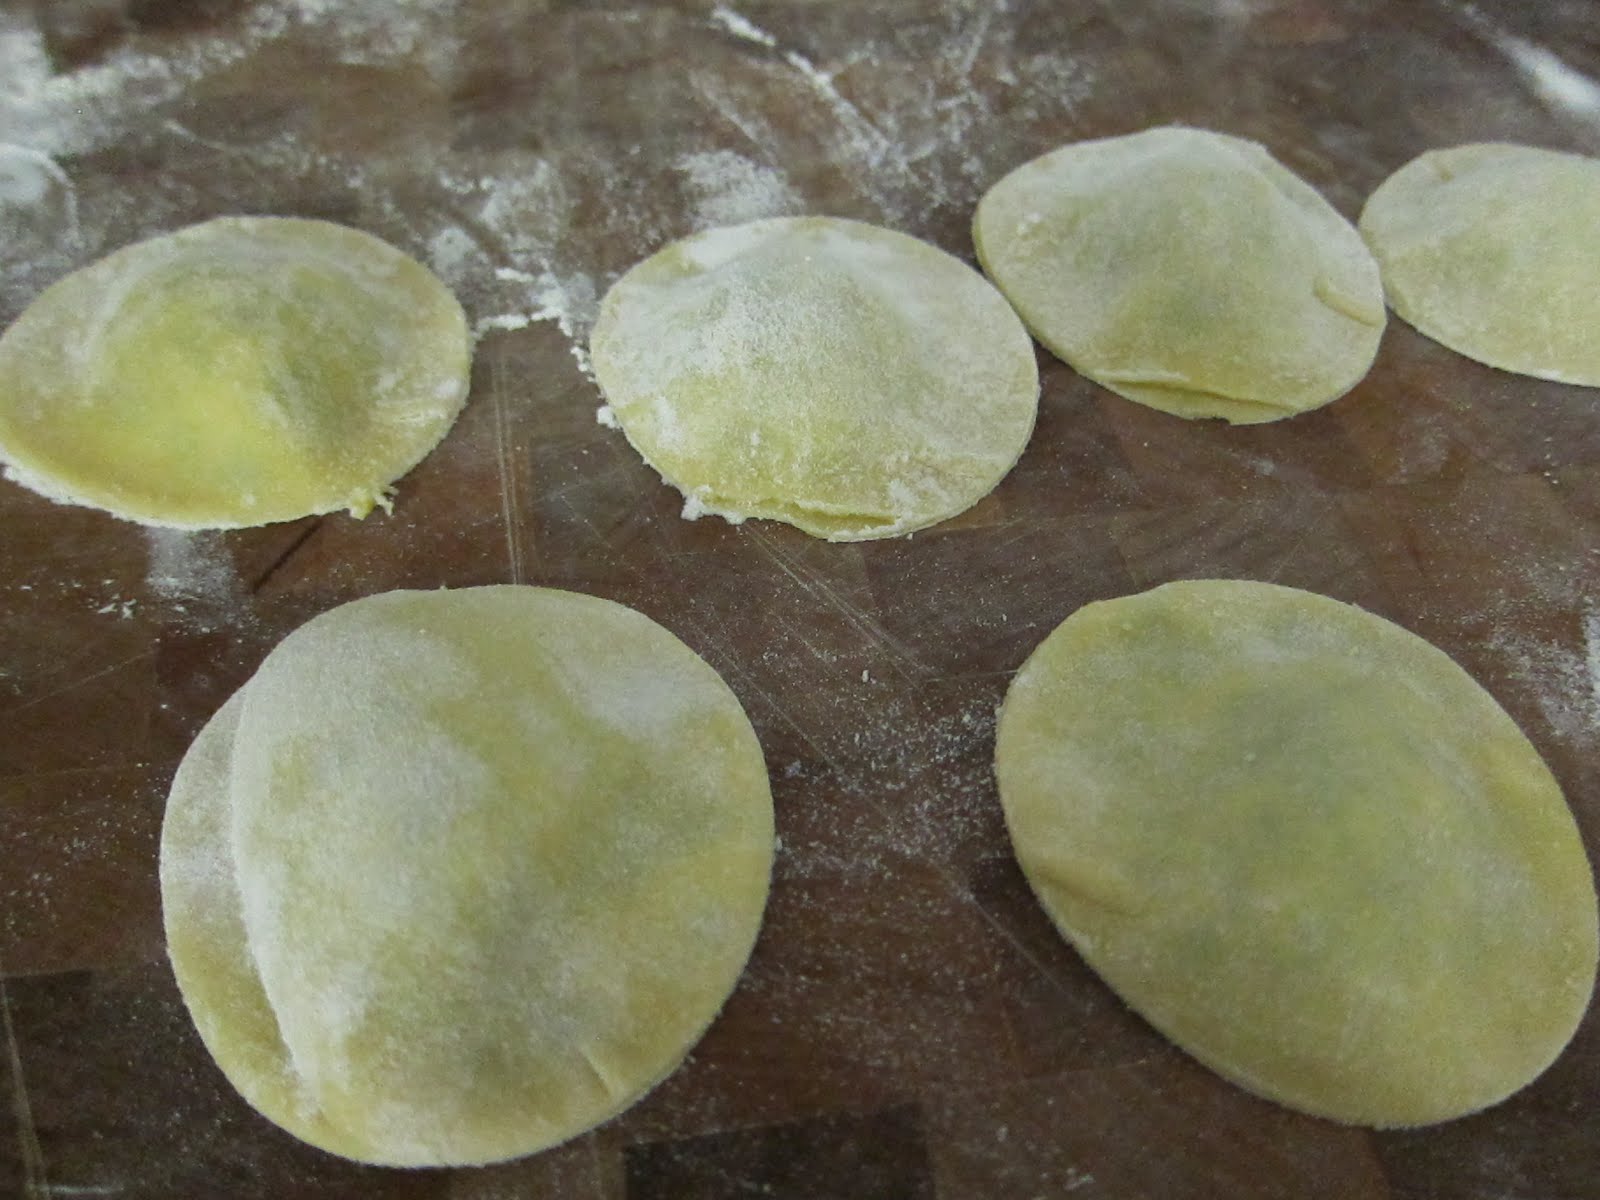
 |
| Final ravioli product. |
Now even off the ends but just cutting them with a knife. Place on your work surface and cut the size you want to work with. I just cut mine the size of my cutting board. Get a bowl of water and a brush to use as your glue. Brush the bottom half of the pasta with the water and then start adding dollops of the filling. You want about a heaping tablespoon for each one but I wouldn't do more than 2 tablespoons worth. Leave space between each so you can cut them and seal them properly. Then fold over the dough and match the edges up and press to seal. Then use your fingers to work around the filing and gently press the pasta down. You want to make sure to get all the air out of each one or they'll float in the boiling water instead of cook properly. Once sealed and all air removed it is time to cut them. I don't have anything fancy to cut mine I just used my circular biscuit cutter as that is what I had on hand. You can certainly make your edges fancier or use a ravioli cutter I just didn't have the time.
 |
| Finished ravioli. |
Now the last part is the easiest. After all this work and effort it is nice to have the finishing sauce be so simple but so good. Drop your ravioli in salted boiling water for about 3 minutes. At the same time in a saute pan melt 1/2 stick of butter. You only want to cook about 8 at a time in the pan though. Add about 3 tbsp. of chicken stock to the butter. Take your ravioli directly from the boiling water and place in the butter pan. Sprinkle with a generous handful of Parmesan cheese, probably about 1/2 cup worth almost. Then place on plate and serve with additional Parmesan cheese. Of course, depending on how many you are making you can up the amount of butter and stock and just use a bigger pan if needed. Of course, I topped mine with crispy bacon to give it a nice crunch, why not. Enjoy!


mmmm! This looks REALLY REALLY good, can you believe I've NEVER had REAL pasta? By the way, the city shot in the backround is intriguing! How cool to live in a high rise like that with a little kitchen window opening up to the sky line- :-}
ReplyDeleteHa, I didn't even notice the view out the window in the picture until you mentioned it. It is nice living up high, we can actually sea the Tokyo Bay from our balcony and windows. =)
ReplyDelete